Creation of sculptures
How Maria Primolan Sculptor creates her sculptures made of clay and Raku ceramic.
Maria Primolan Sculptor creates many sculptures portrait of
some of the greatest musicians, David Bowie, Freddie Mercury, Prince, George
Michael, Bruce Springsteen and Harry Styles.
The portrait sculpture artist creates
mainly wooden, bronze and terracotta sculptures. She adds new works every year
but also she creates commission works on the sections dedicated pre-order.
Explore the
collections David Bowie Sculptures, Freddie Mercury Sculptures, and Prince Sculptures Amy Winehouse Sculpture to see her tribute art.
The musicians
artworks on the website capture the main features, details and iconic look of
these music stars; they are made of painted and glazed ceramic and Raku ceramic
in many dimensions and versions from the
masks to full the head Bust.
You can display
at your home and collect these sculptures visiting the page products you can
descover all the pieces available for purchase, if they are
sold out you can pre-order them.
These
original sculptures are Hand made and painted, signed, numbered, and they are
accompanied by a Certificate of Authenticity, they can be Worldwide shipped
carefully packed and tracked.
Reviews
"It was lovely to meet Maria Primolan at the “Golden Years” event on
27th August 2018 to celebrate 60 years since David Bowie joined
Bromley Technical School in Bromley.
I thought your work was very dynamic and brought out the spirit of
David. The likeness was very arresting and your technique is
masterful.
I feel you will progress onto other projects which will project you
onto the centre stage of sculpture."
George Underwood
"Maria captures David's mood and personality to perfection"
Mary Finnigan
-
RAKU PROCESS
Description of the process to create a raku sculpture. The photos don't show the same sculpture, but some sculptures to explain all the phases.

RAKU PROCESS
Realization of the sculpture
At the first
I made the sculpture made of white clay
It follows the drying and the first fire.
In Raku any clay that copes with the firing technique must be able to
withstand heat shock without warping, distorting or cracking. The clay needs to
have particles in it to allow water to escape quickly so calcinated China clay
or clay with temper (grog, flint or shell) added to it, is successful. This
clay occurred naturally in Japan.
The most porcelains and white
stoneware clay bodies are unsuitable for the Western Raku process unless some
material is added to deal with thermal shock, like quartz.

RAKU PROCESS
Coloration
After the first fire I color lips and eyes with colored pigments
for ceramic.
I put the sculpture in the
white glaze and I start to paint the hair with oxide. For the hair I use prepared
glazes with oxides of cooper, iron and others, that give the sculptures
splendid colors and metallic effects. Raku glazes mature at a much lower temperature.
Western Raku potters rarely use lead as a glaze ingredient, due to its toxicity.

RAKU PROCESS
Preparation of the kiln
I prepare the sculpture in the
kiln. There are many kind of kiln and the results of the work depends also on
this. This kiln is out door and I can open it completely at the end of firing
to take the glowing pieces.

RAKU PROCESS
Ignition of the kiln
This is a gas kiln. The glaze
firing time for Raku is about an hour. Now I can close the kiln and I can turn
on the gas and light the burner.

RAKU PROCESS
Reduction preparation
At the first everything goes
slowly and while the sculpture is in the kiln I can prepare the reduction
chamber
The use of a reduction chamber at the end of the
Raku firing was introduced by the American potter Paul Soldner in the 1960s, in
order to compensate for the difference in atmosphere between wood-fired
Japanese Raku kilns and gas-fired American kilns. Typically, pieces are placed
in masses of combustible material like straw, sawdust, or newspaper, leaves, in order to provide a
reducing atmosphere for the glaze.

RAKU PROCESS
Opening kiln – extraction of the sculpture
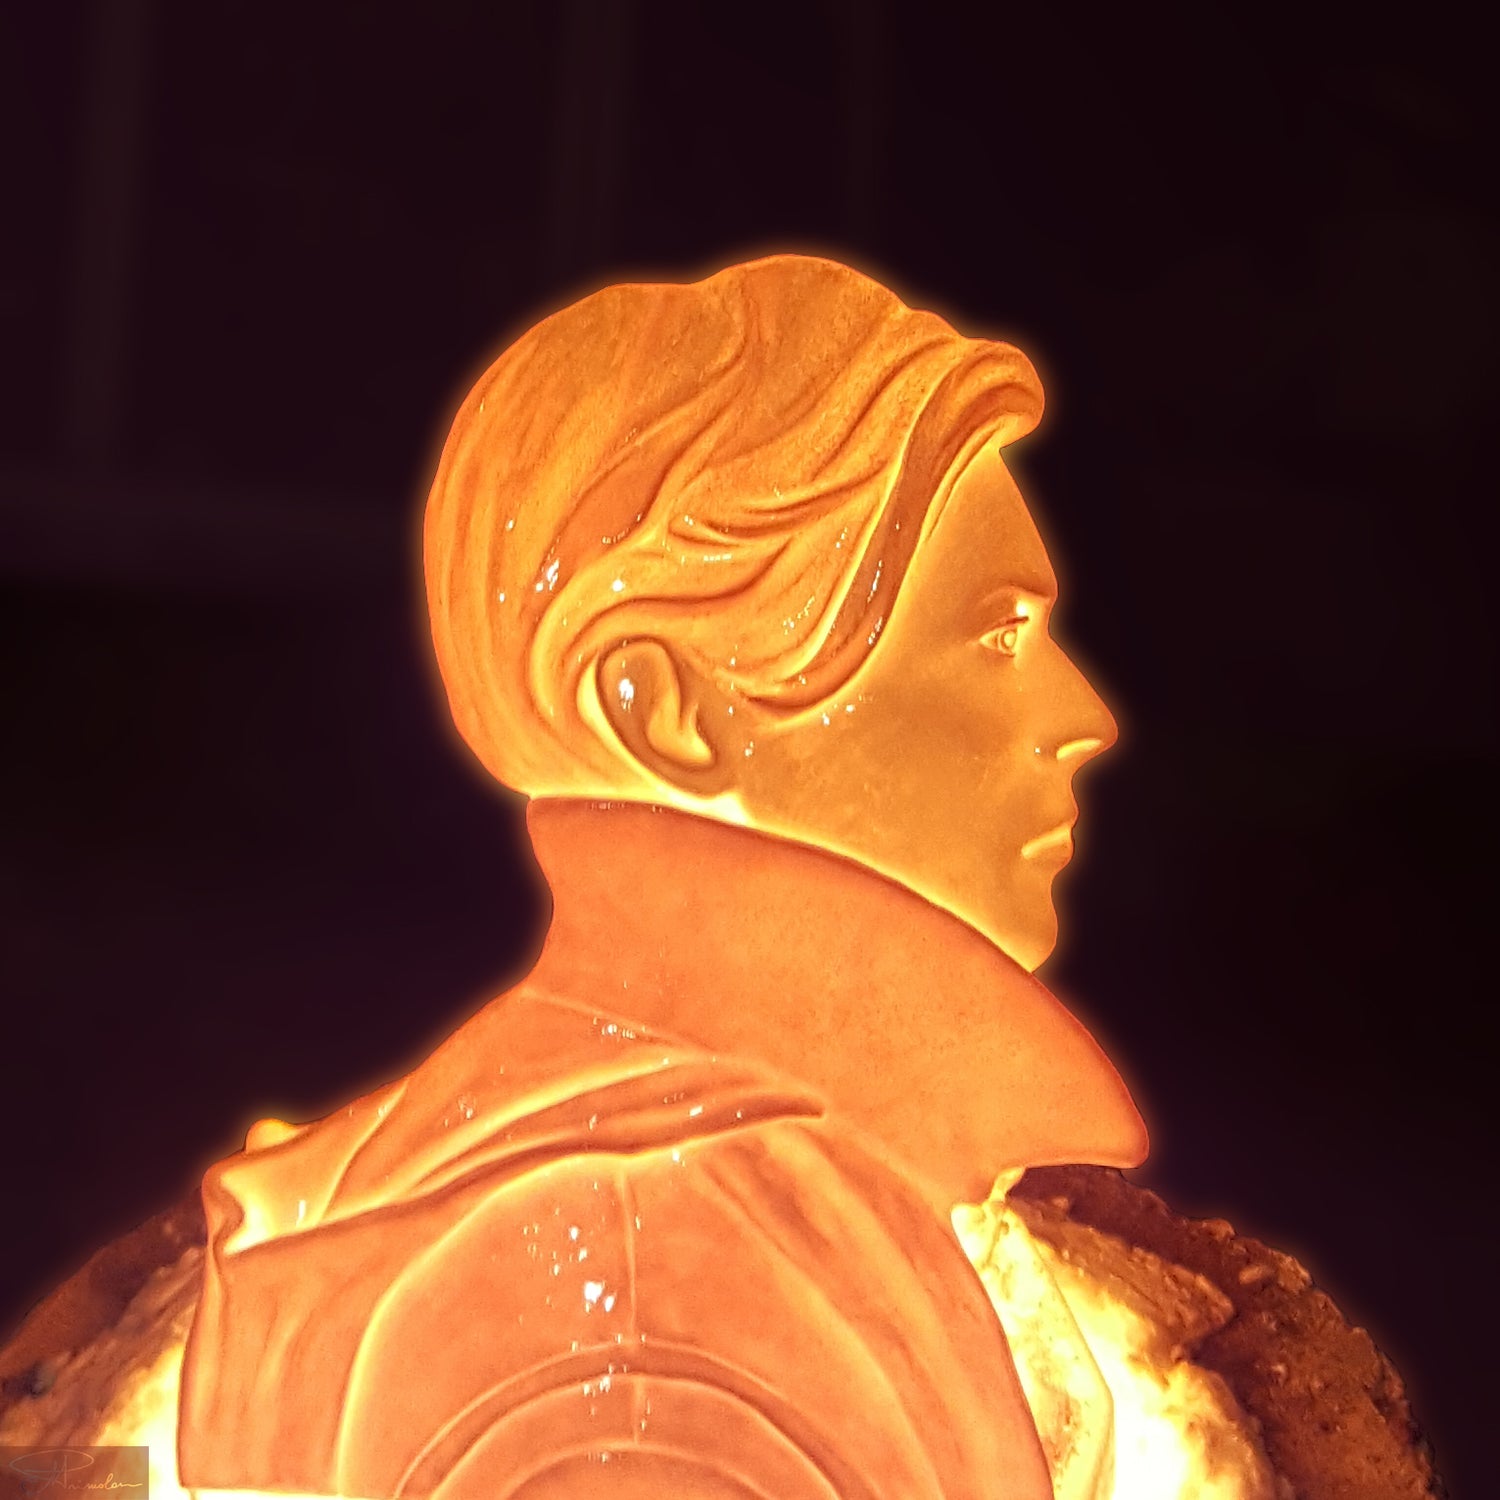
At the 985° degrees centigrade
the glaze is mature, the sculptures appear orange and red colors. We can turn
off the gas and we can open the kiln. I prepare myself to take the piece with
the pliers.
When we open the kiln it is
always very exciting!
The sculpture must be quickly
placed in the reduction chamber. The combustible material burn and I cover
quickly the piece.

RAKU PROCESS
Riduzione – Reduction phase
The burning of organic material produces the
distinctive soot coloring of Raku.
Sometime my sculptures in this
phase have broken for the strong thermal shock!
My pieces have glazed and fired using the
Western Raku technique.
The results offer a myriad of unique
iridescent glazes, crackling, and black-soot dyed surfaces.
The times in the reduction
chamber varies from a few minutes to a 20 or 30 minutes, this influences the
colors.
Opening the reduction chamber: This phase is
exciting, too, because I look forward to see
how the sculptures appear

RAKU PROCESS
Scultura finita – Finished sculpture
I checked out the sculpture from the reduction
chamber and I can start to clean it
Here the Raku Sculpture
finished!
